How to Make Creamed Honey at Home
Most people love the sweet flavor of honey. Of course, if you have ever had local honey that has not been processed, you will never go back to store-bought honey again. Honey is one of the nature’s treasures, the gift of sweet liquid gold. It never goes bad on your shelf and it has antibacterial and medicinal properties as well as being a sweet treat.
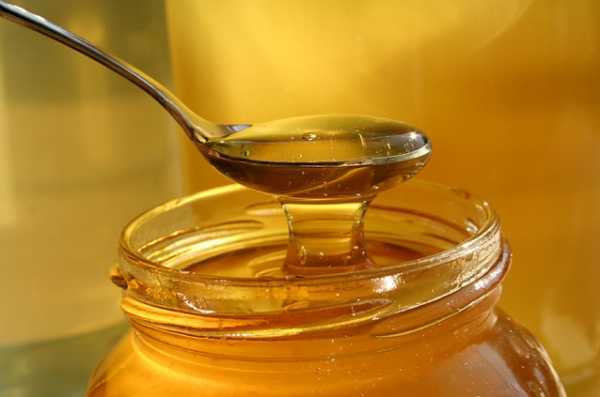
So how could you possibly improve it? There is one drawback to liquid honey – it is messy, sticky, and it tends to crystallize if left to its own devices. The crystallization is easy to remedy by warming the honey, but there is another method for keeping honey.
Creamed honey seems to be rising in popularity, and for a good reason – it has all the natural sweetness of liquid honey without as much mess, and it has its own unique texture.
What is creamed honey?
Creamed honey is not some new variation of honey from a mutated strain of bee. It is also not whipped honey or honey with added ingredients like milk.
Creamed honey is simply controlled granulation of liquid honey. Like the crystals that form on the bottom of your honey jar, creamed honey is crystallized, except the crystals are very fine and the honey is still smooth.
Read also – 8 Wonderful Benefits of Honey
How can you make it?
The most important factor in making creamed honey is to have a good starter. A starter is a honey that has already been finely granulated or creamed. It works by inducing the liquid honey to granulate in the same way, once crystallization has begun. So finding a finely crystallized, smooth creamed honey as your starter is essential.
Once you have your starter, you need to find a quantity of quality honey. Local honey not only tastes better and is better for you, but also supports your local beekeepers and community. Make sure that your honey has not already begun to crystallize.
If it has, warm it slowly until the honey is clear and completely liquefied. Never boil your honey, as this destroys important nutrients within it. If warmed, the honey needs to return to room temperature before you begin the creaming process.
Once your honey is collected and ready, mix in the starter creamed honey at a ratio of about nine parts liquid honey to one part starter. The starter needs to be mixed in thoroughly, but this can take some doing since you do not want to mix in air at the same time.
There is special equipment on the market that you can buy for this project, or you can try an electric mixer or beat it by hand with a whisk. Often it helps to let the mixed honey sit overnight to allow any stray air to rise to the surface. Once that’s done, you can put the stuff into containers, preferably wide-mouthed containers for ease of removal.
Once the honey is mixed and packaged, it needs to sit in a cool place at a temperature of about 57 degrees Fahrenheit. This is the perfect temperature to granulate the honey as rapidly as possible, and since you added the finely crystallized starter, the entire batch should granulate into the same fine, smooth texture. Ideally, the creaming process will take eight to ten days, but it can take up to three weeks.
Read also – 8 Lunchbox Diet Ideas to Fuel Your Day
Sweet reward
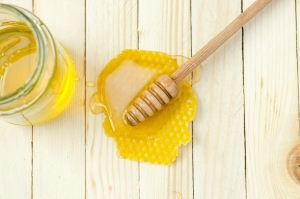
Sampling your first batch of creamed honey is a treat. That smooth texture melts on your tongue and you are hooked. Creamed honey can be used anywhere that regular honey can and more besides.
Spreading it on toast or muffins is a delicious way to eat it, and much less messy than liquid honey. Creamed honey makes for great gifts, but we warned – once you have addicted your friends and neighbors to the stuff, they’ll be pounding down your door for more.